
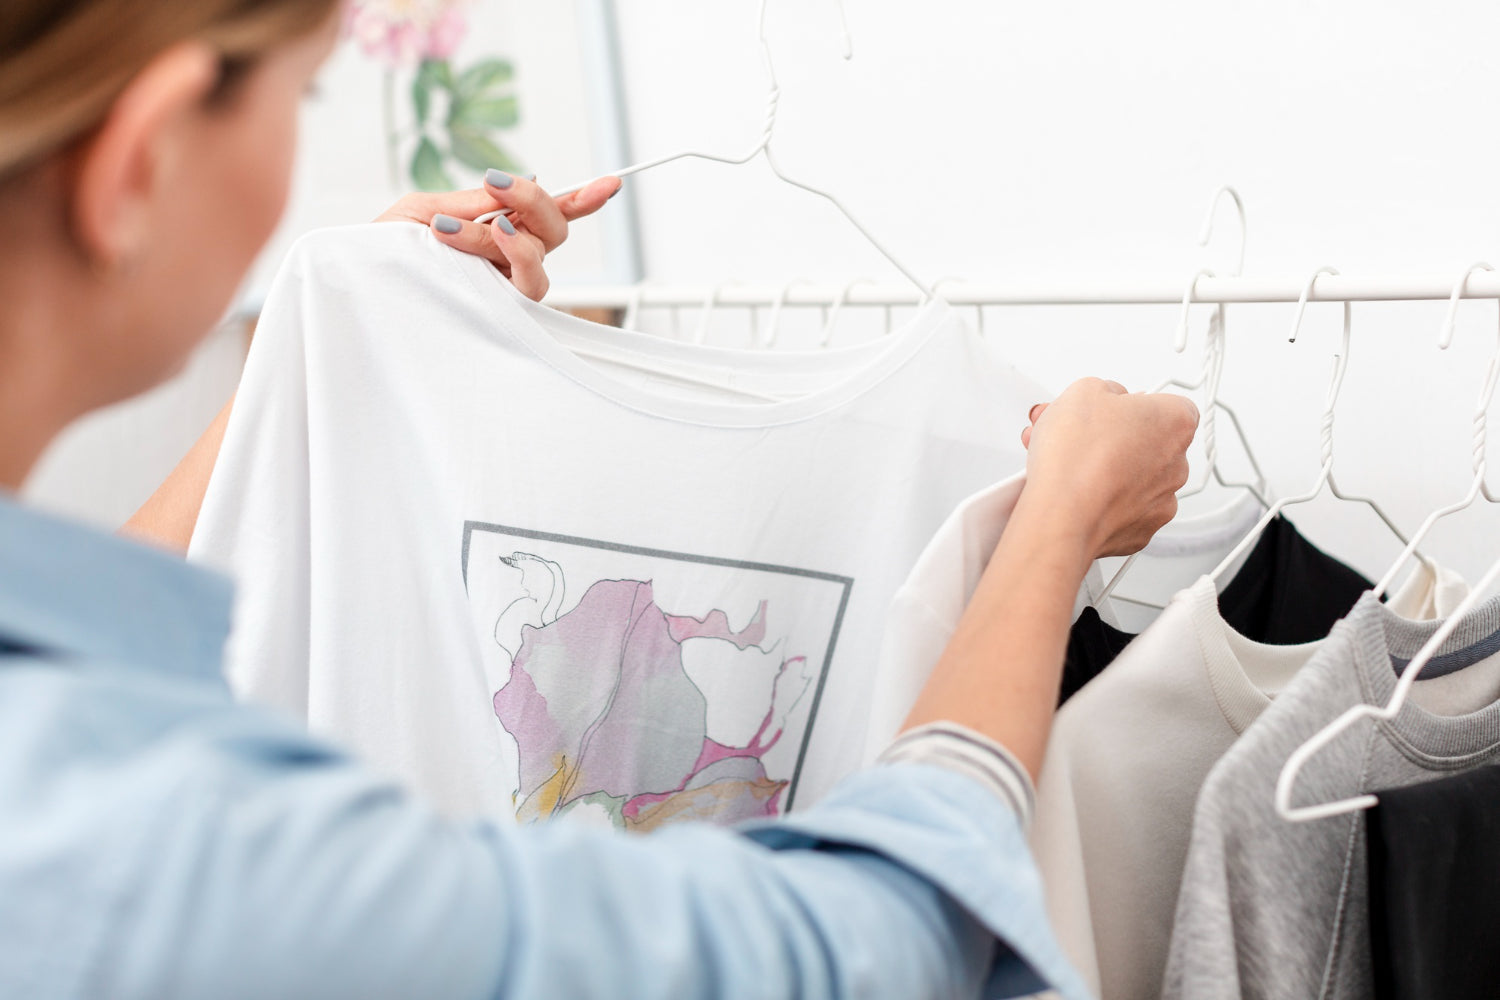
Prelaunch DTF Testing That Protects Your Brand
Rushing into DTF printing wholesale without a real test plan is a fast way to wreck a drop. Prints crack right before a Q4 launch, colors shift on your best-selling hoodie, or a big back-to-school run fails wash tests. All of that can be avoided if we slow down and test in a smart way.
A prelaunch DTF test is not just asking, “Does this look good on one tee?” The real question is, “Can this partner support our full line, across all the fabrics and fits we sell, at scale, on time, over and over again?” That is what we are aiming for.
Here, we are walking through how to build a simple DTF test plan that actually works in real life. We will cover how to plan a sample matrix, where to put QC checkpoints, and how to read the results so you can choose the right production partner before peak seasons hit.
Mapping Your DTF Sample Matrix for Real-World Wear
Your customers do not just buy one black cotton tee. They buy hoodies for fall, lightweight tees for summer, performance gear for the gym, and tie-dye or pigment-dyed pieces for special drops. Each fabric type reacts differently to DTF transfers, so your test plan has to reflect that mix.
A good DTF sample matrix should represent what you actually sell at volume, and it should cover enough variation that you are not only testing the “easy wins.” That means selecting a handful of your highest-volume styles, making sure you include multiple fabric types (cotton, blends, fleece, high-poly), building in a mix of color use and artwork complexity, and testing several placements instead of only one safe chest hit.
To get started, choose a set of garments that mirrors your line across seasons and finishes:
-
1 streetwear tee that sells all year
-
1 hoodie that spikes during cooler months
-
1 high-poly or performance style if you sell it
-
1 special finish piece, like pigment-dyed or tie-dye, if that is in your line
Next, define your ink and design levels so the test reveals issues you might not see in a simple logo run. Include at least a simple spot-color logo, a detailed design with fine lines or microtext, and a gradient or tonal artwork that can expose banding or color issues.
For placements, make sure you are not only validating one location. At minimum, test:
-
Left chest
-
Oversized back or front graphic
-
Sleeve or leg print if you sell those
Finally, treat the test like a repeatable process, not a one-time experiment. All test details need to be written down so the results can be replicated on reorders instead of guessed. That documentation should include:
-
Transfer film brand and type
-
Powder adhesive type
-
Press temperature, time, and pressure
-
Peel type, hot or cold
-
Press equipment model and platen style
A serious DTF printing wholesale partner should be willing to share and log all of this so results can be repeated on reorders, not guessed.
Dialing in Fabrics, Inks, and Transfer Settings
Different garments need different eyes on them during testing. A DTF print that feels perfect on a cotton tee might feel too thick on a fleece hoodie or might not hold up on high-poly.
When you review samples, focus your attention based on garment type:
-
100% cotton tees: watch for hand feel, stretch over the chest, and how the print sits on the knit texture.
-
Midweight fleece hoodies: check how ink bridges seams, pockets, and thicker areas. Also watch for gloss differences across fluffy surfaces.
-
High-poly or performance gear: look for dye migration, color shift, and edge clarity when the fabric stretches.
-
Pigment-dyed or tie-dye blanks: pay attention to how the garment color affects your print, and if the surface variation causes haloing or spotting.
For ink behavior, do not just stand back and say, “Nice color.” Get close and verify the technical details that usually show up later as returns or complaints, including opacity on dark and bright garments, white underbase coverage on deep colors, fine-line details and microtext readability, gradients and halftones for banding or weird steps, and edge quality where fabric texture is rough.
As you inspect, keep an eye out for the most common failure points so you can compare partners consistently:
-
Haloing around the print edges
-
Blowout of details on textured knits
-
Ink feeling too thick or rubbery
-
Inconsistent gloss from one area to another
Transfer settings may look good on paper but need to be proven on press. During testing, your partner should be able to show you their recommended base setting for each fabric type, demonstrate slight variations (like a small bump in temperature or time) to define your “safe zone,” and explain how they document those settings so every press operator follows the same profile.
For any wholesale DTF printing partner, the key is repeatable profiles that match your blanks, not just generic one-size-fits-all charts.
Building QC Checkpoints That Catch Issues Early
A clean prelaunch test has checkpoints before, during, and after pressing, plus after washing. Skipping any of these means you are leaving risk on the table.
Start with visual checks right when you unpack and immediately after pressing. You are looking for problems that can be caught instantly, such as registration and alignment on the garment, banding or tiny pinholes in the print, a consistent finish (all matte or all gloss, not patchy), visible adhesive or powder around edges, and lint, fibers, or dust trapped under film.
Then move into physical and performance testing so you know the print holds up in real life:
-
Wash test each sample 3 to 5 times at home settings, with tumble dry
-
Perform stretch tests across the chest, sleeves, and rib cuffs
-
Flex and scrunch the print to look for cracking or peeling
-
Rub darker prints against light fabric to check for color transfer
Use simple scoring so results are clear and comparable across SKUs, fabrics, and partners:
-
1 to 5 for cracking after wash
-
1 to 5 for fading
-
1 to 5 for distortion or warping of the design
Production readiness is about numbers and traceability, not just vibes. Decide up front what “pass” means in your business, including acceptable defect rates per 50 to 100 pieces, color tolerance compared to your brand standard (how close is “close enough”), and which results trigger a retest or a full stop.
Your partner should label batches and track press operators so, if an issue shows up, you can both trace it back and fix the root cause instead of guessing.
Interpreting Test Results to Choose a Partner
Once you run your matrix, you are going to have a pile of garments, notes, and opinions. Turn that into a simple rating grid by SKU and fabric type so you can make the decision based on repeatable signals instead of impressions.
Common categories to score include:
-
Color accuracy
-
Hand feel and comfort
-
Durability after multiple washes
-
Consistency across the whole batch
-
On-time delivery of test samples
Weight each category by what matters most for your brand. For example:
-
Gyms or teamwear may rank wash durability and stretch performance the highest.
-
Fashion labels may put color and finish at the top.
-
Streetwear brands may care most about hand feel and oversized print behavior.
As you review results, pay attention to patterns that predict trouble at scale. Red flags include recurring misprints or alignment issues, inconsistent curing between batches, slow or unclear responses when you raise concerns, and pushback when you ask for small setting changes or better documentation.
Green flags look like:
-
Proactive suggestions to improve your art or placements
-
Clear recording of settings and materials
-
Willingness to rerun tests when something does not pass your thresholds
Then ask the big question: can this partner keep this quality when volume jumps for fall drops and holiday packs? Partners that also handle screen printing, embroidery, tie-dye, and bulk fulfillment can often standardize your tested profiles across methods, so the whole line works together, not just the DTF pieces.
Turning Your Test Plan Into a Long-Term Fulfillment Strategy
Once you have a winning recipe, do not let it live only in email threads. Turn it into a “print spec playbook” that you and your production partner both follow.
Your playbook should include:
-
Approved blanks and fabric mixes
-
Artwork notes and color expectations
-
Press settings and transfer details that passed tests
-
QC checklists and scoring scales
-
Defect rate limits and what happens if they are hit
Use this same test matrix and scoring system with 2 or 3 prospective partners when you want a true apples-to-apples comparison. Run tests before big seasons like back-to-school and Q4, not in the middle of a launch when you are already under pressure.
When brands send us their top SKUs and brand standards, we can build a DTF and hybrid decoration test run that lines up with their real-world collections. By blending premium blanks with DTF, screen printing, embroidery, tie-dye, and bulk fulfillment, Factory 1 Direct can help turn that one-time prelaunch test into a long-term, scalable production system that actually holds up when orders spike.
Get Started With Your Project Today
If you are ready to scale your apparel or merch line with consistent, high-volume production, our DTF printing wholesale service is built to keep your orders on schedule and on budget. At Factory 1 Direct, we work with you to dial in your artwork, materials, and quantities so every transfer arrives print-ready. Share your next project requirements with us and we will help you choose the best options for turnaround, durability, and color accuracy. Let us handle the production so you can stay focused on growing your brand.


Leave a comment
This site is protected by hCaptcha and the hCaptcha Privacy Policy and Terms of Service apply.